Learn how to knit the stockinette (US) / stocking (UK) stitch, consisting of one row knit stitch, one row purl stitch
The stockinette stitch (or stocking stitch in the UK) is formed by one row of knit stitches, one row of purl stitches. Learning the stockinette / stocking stitch is a great next step once you've learned how to knit and purl. It can be used for everything from sweaters and cardigans, to bags, hats and socks. Stockinette stitch produces a fabric of 'v's on the right side, and waves on the reverse / wrong side. Hope you'll enjoy learning this classic stitch!

Let's learn how to knit the stockinette / stocking stitch. This stitch is made up of one row of knit stitches and one row of purl stitches. By alternating these two types of stitches you end up with a really classic and beautiful texture and pattern. The right side (i.e. the side facing out) of the fabric will be made up of lots of little 'v's.

Whilst the 'wrong side' will made up of lots of little waves.

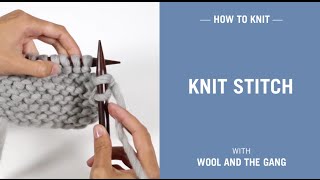
To work in stocking stitch, knit the first row. (right side of work) Row 1: Insert the right needle into the front of the first stitch on the left needle.
Ensure that you insert the needle from bottom and up, and that no extra fibres get caught into the stitch.

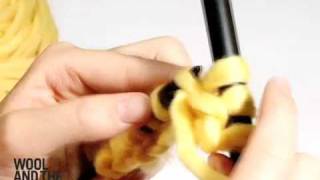
Wrap the yarn around the needle clockwise. The two needles should meet as a 'cross' - you don't need to do anything with the left needle.

Scoop the right knitting needle forward, through the loop. Then gently slip the stitch off the left needle.
Note: it's really important that you transfer the stitch from the left to right needle - otherwise you'll accidentally end up with too many stitches on your needles.
Repeat steps 3-5 across the whole row. You should now have transferred all stitches from the left needle to the right needle. A good habit to get into is to double check that your stitch count remains the same :)

It's now time to purl a row, you're now working with the 'wrong side' of your knitting.
Ensure that your empty knitting needle is in your right hand (if you're right handed).
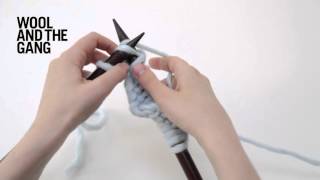
How to purl: Insert the right needle into the front of the first stitch on the left needle from right to left (can also be described as downwards, so the opposite direction of when you did the knit stitch).

Wrap the yarn around the needle anti-clockwise. Note that your right knitting needle should now be at the front of your knitting, and again your left and right knitting needles should form a 'cross' as in the picture.

Scoop the right needle to the back and slip the stitch off the left needle. Repeat steps 6-8 across the whole row.

Continue to alternate between knit and purl rows, and if you keep going you will notice a pattern emerging. On the 'right side' i.e. the pretty side, you will see rows of rows of 'v's emerging. Well done and congratulations for mastering the stockinette / stocking stitch!
If your order amount is $40.00 or more, we'll ship for free with standard shipping. View full price shipping costs
You may incur customs charges on orders over $200, if you are asked to pay customs then simply email info@woolandthegang.com with your receipt and we'll refund you the charge back.